


EV Charging Best Practices: Battery Life, Safety, and Cost
Direct answer: The best EV charging routine is simple: charge at home when you can, keep daily charging near your vehicle's recommended limit, avoid sitting at very low or very high battery levels, use DC fast charging mainly for trips, schedule charging for cheaper off-peak hours, and use safe, certified equipment that matches your home's electrical capacity.
The simple EV charging rule: avoid extremes
EV batteries are designed to be used, not babied. You do not need a complicated charging ritual. But batteries are still happiest when you avoid the extremes:
- constantly charging to 100% when you do not need it
- regularly running the battery down near 0%
- letting the car sit for long periods at very high or very low charge
- charging in extreme heat when you have a better option
- relying on unsafe outlets, adapters, or extension cords
Tesla's Model 3 owner manual gives a useful version of this principle: avoid letting the battery get too low, refer to the vehicle's recommended daily and trip charging limits, and do not wait until the vehicle is discharged to plug it in.
Source: tesla.com
That last part is important. The right charging target depends on your vehicle, battery chemistry, commute, and trip plans. A simple "always do this exact percentage" rule is not as good as understanding the pattern.
1. Set a daily charge limit that matches your driving
For many EVs, the most common daily habit is charging to around 80% and saving 100% for trips. That gives most drivers plenty of range while reducing time spent at a high state of charge.
But do not treat 80% as a law. Some vehicles, especially some LFP-battery models, may recommend charging to 100% periodically or even for daily use. Your vehicle manual and in-car charging screen should win over generic internet advice.
Use this simple framework:
| Driving need | Practical daily target |
|---|---|
| Short commute, easy home charging | 70-80% is usually comfortable |
| Longer commute or limited charging access | 80-90% may make more sense |
| Road trip tomorrow | 100% is fine when you will drive soon |
| LFP battery with manufacturer guidance | Follow the car's recommended limit |
The goal is not to chase a perfect number. The goal is to avoid leaving the car full for no reason and avoid running it down too low because you forgot to plug in.
2. Do not wait until the battery is almost empty
Running out of charge is not just stressful. It also pushes the battery into the lower end of its state-of-charge range more often than necessary.
A better habit is to plug in before the car gets very low, especially if you have home charging. For many drivers, that means plugging in when the car is somewhere around 20-30%, or sooner if the next day is busy.
This is also good life design. You do not want your morning to depend on whether you remembered to find a public charger the night before.
3. Charge at home whenever possible
Home charging is the best EV ownership upgrade because it turns charging into something that happens while the car is already parked. If you are still comparing setups, start with the practical difference between Level 1 and Level 2 EV charging before buying hardware.
The U.S. Department of Energy's Alternative Fuels Data Center notes that most EV drivers charge overnight at home using AC Level 1 or Level 2 equipment. It also notes that many owners can meet daily driving needs with Level 1 when a dedicated branch circuit is available, while Level 2 is useful for faster charging, longer commutes, less regular schedules, and larger batteries.
Source: DOE home charging overview
The basic difference:
| Charging type | Typical home power | Typical use |
|---|---|---|
| Level 1 | 120V outlet | Short commutes, plug-in hybrids, backup charging |
| Level 2 | 240V circuit or outlet | Overnight charging for most EV owners |
| DC fast charging | Public high-power charging | Road trips, urgent top-ups, travel corridors |
If you can charge at home, you usually get lower cost, more control, and less dependence on public charger availability.
4. Use Level 2 for the best daily experience
Level 1 can work better than people expect, especially if you drive fewer miles and can plug in every night. But Level 2 is the setup that makes EV ownership feel easy for most households.
The EPA describes Level 1 charging as adding around 3 to 5 miles of range per hour, while Level 2 charging commonly adds around 25 to 40 miles of range per hour depending on charger power and vehicle efficiency.
Source: epa.gov
That difference matters. Level 2 gives you room for:
- a longer commute
- errands after work
- cold-weather efficiency loss
- two EVs sharing a charging routine
- off-peak scheduling without worrying about whether the car will finish in time
For many homes, the right answer is not the highest-amperage charger possible. It is the smallest Level 2 setup that reliably covers your actual driving.
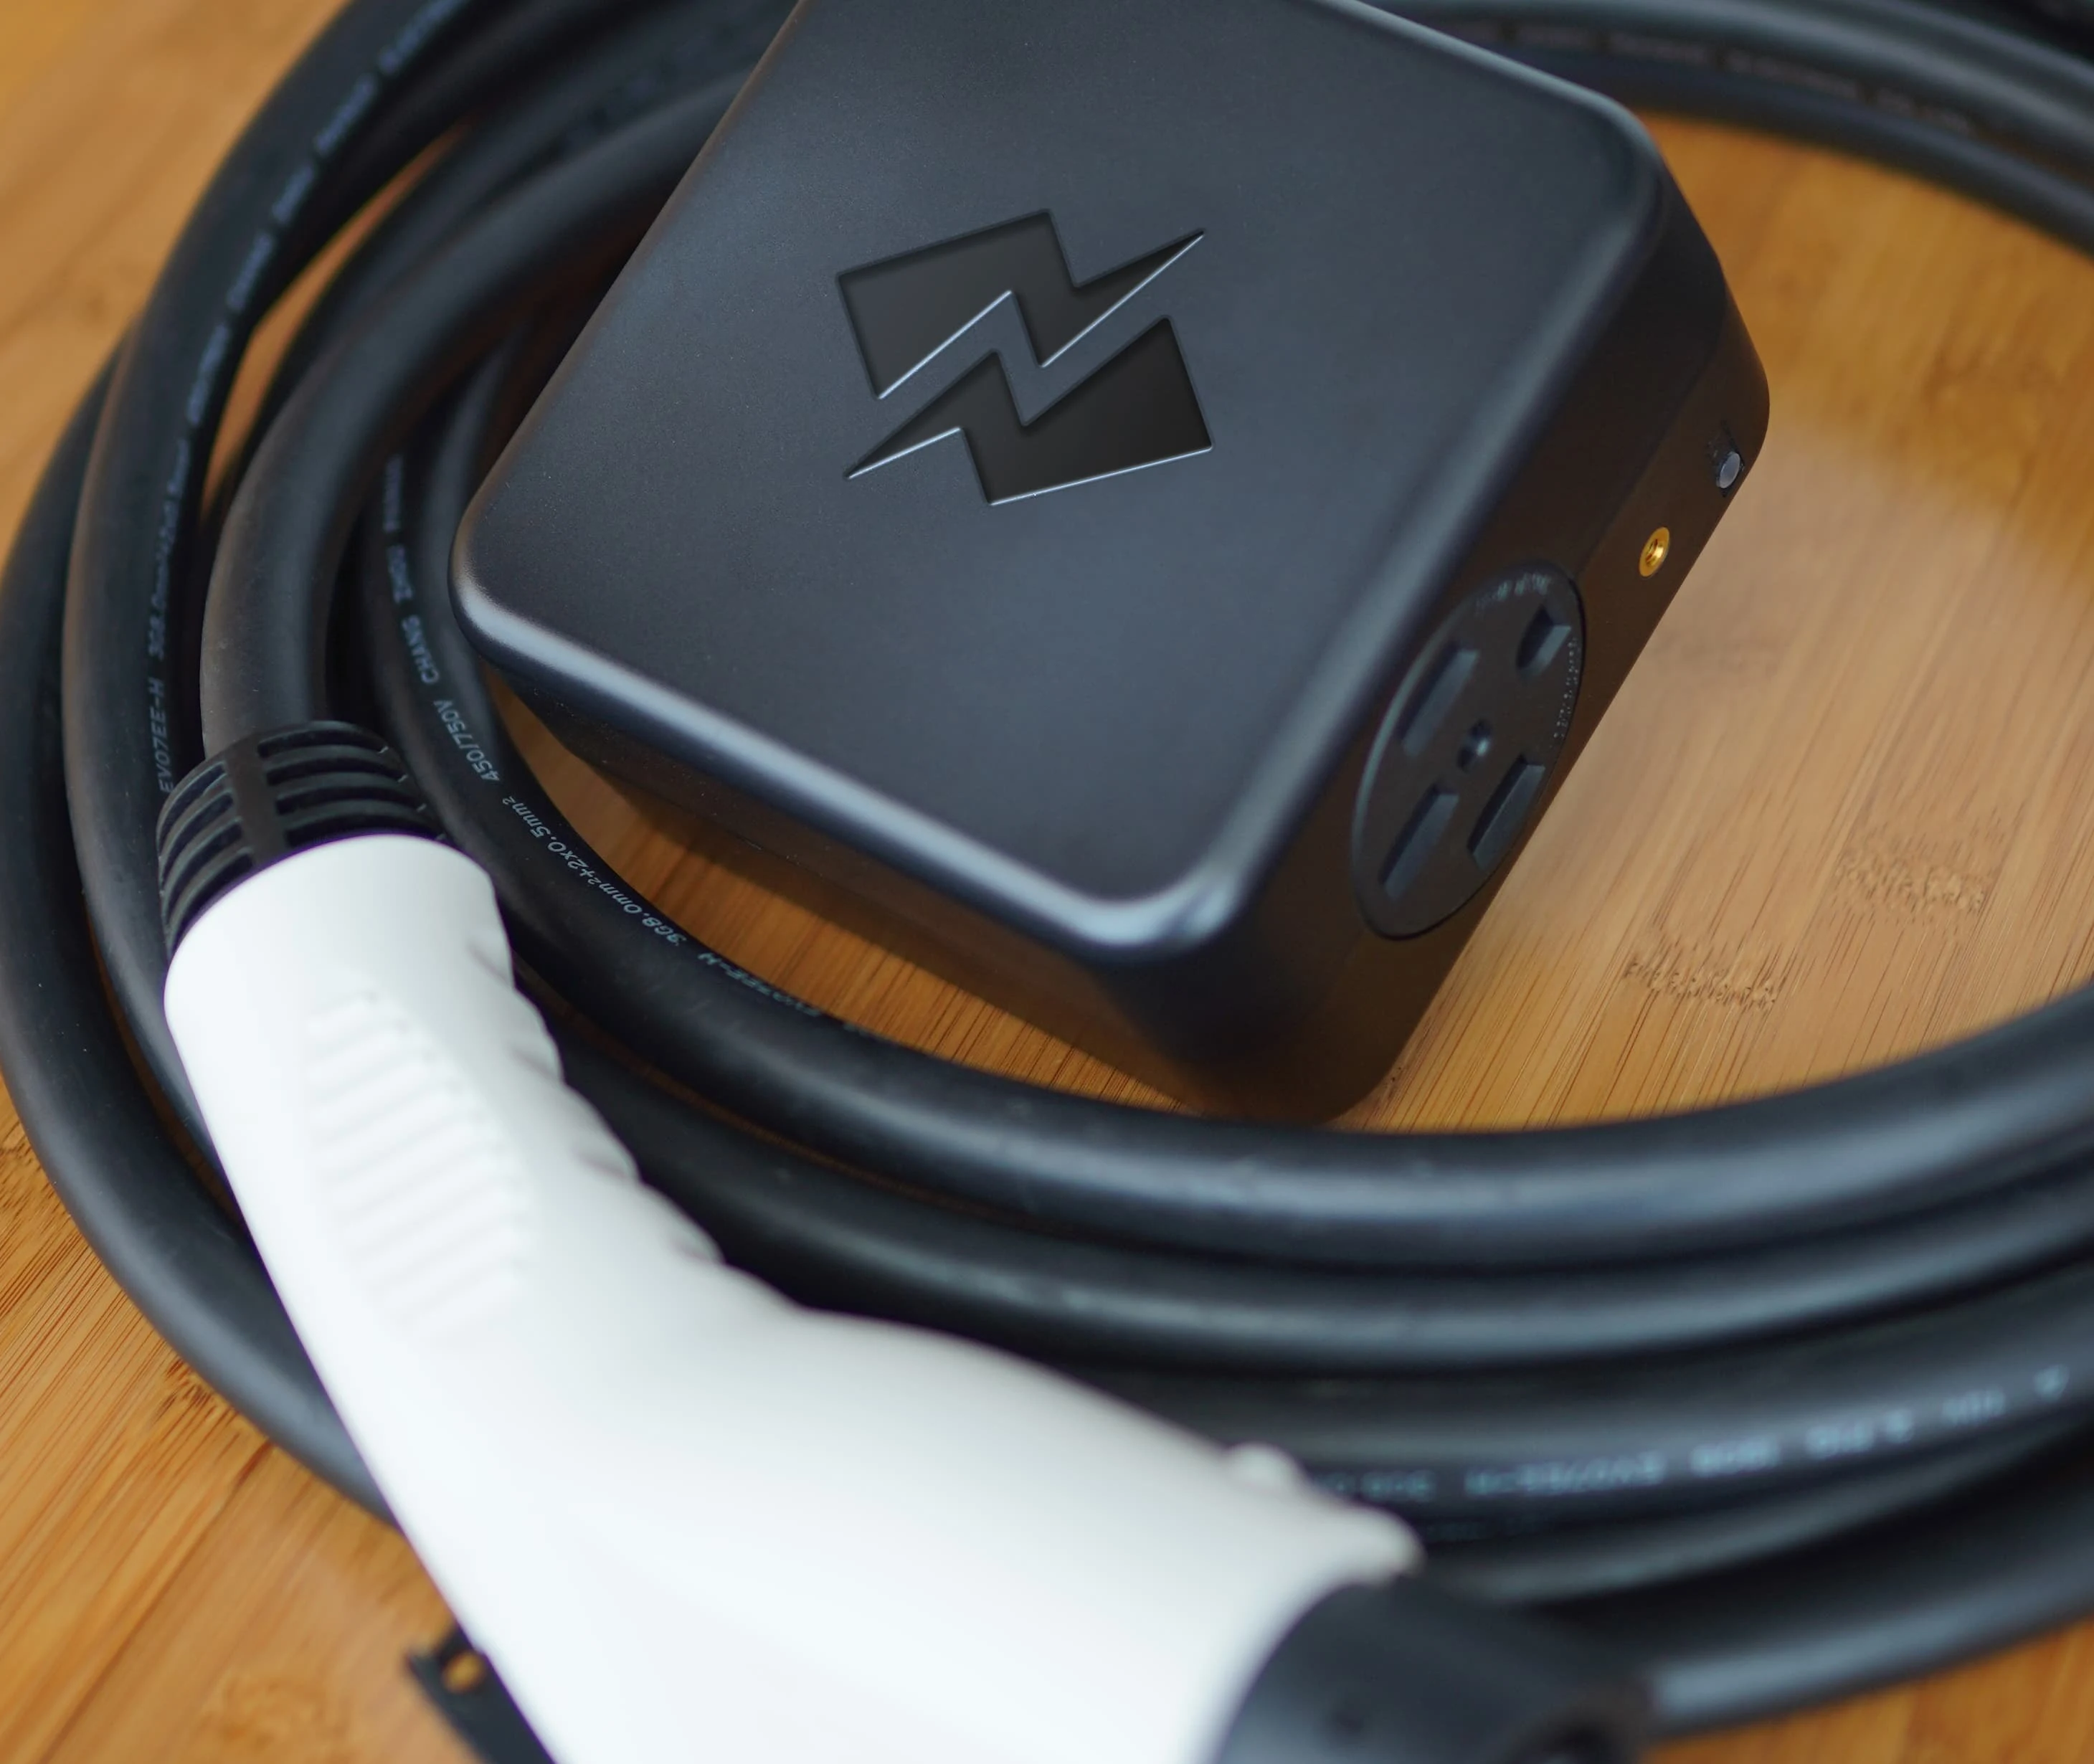
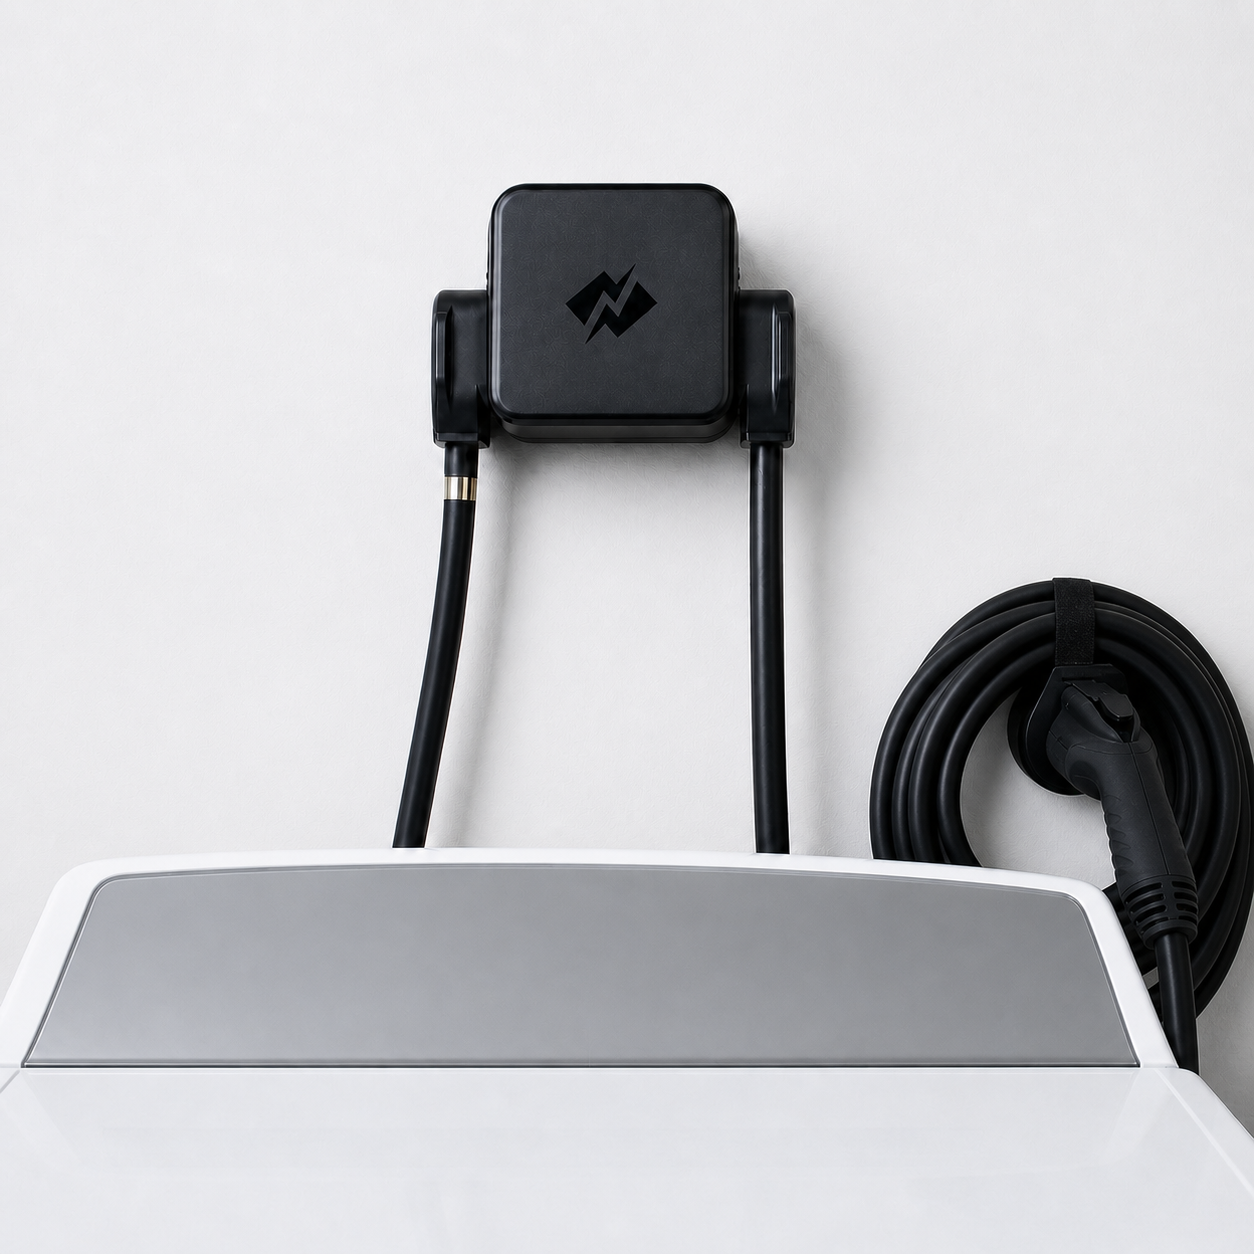
NeoCharge Smart Splitter
Add Level 2 charging without a panel upgrade
Share an existing 240V outlet automatically, so your EV and dryer do not run at the same time.
5. Use DC fast charging when it solves a real problem
DC fast charging is one of the reasons modern EVs are practical for road trips. It can add range quickly, and it is exactly what you want when you are traveling.
But for daily charging, AC home charging is usually the better default. It is cheaper, more convenient, and gentler as a routine. Fast charging is best used when it gives you something home charging cannot:
- a road trip stop
- a quick top-up between long drives
- an emergency charging session
- apartment or street-parking backup when home charging is not available
If you do use fast chargers on a trip, remember that many EVs charge fastest at a lower state of charge and slow down as the battery fills. That is why road-trip charging often works best as shorter stops from a lower percentage up to around 70-80%, instead of waiting for 100%.
6. Schedule charging during off-peak hours
If your utility offers time-of-use rates, the cheapest time to charge is often overnight. That can turn EV charging from "new load on the bill" into one of the lowest-cost parts of owning the car. For a deeper setup walkthrough, see our guide to scheduling EV charging during off-peak hours.
The DOE notes that actual residential charging costs depend on time of day and rate plan, and that some utilities offer time-of-use rates or other incentives for charging infrastructure owners.
Source: DOE home charging overview
The practical move is simple:
- Look up your utility's EV rate plan or time-of-use schedule.
- Set your car, charger, or charging app to start after peak hours.
- Make sure the car finishes before you need to leave.
- Recheck the schedule when your utility changes seasonal rates.
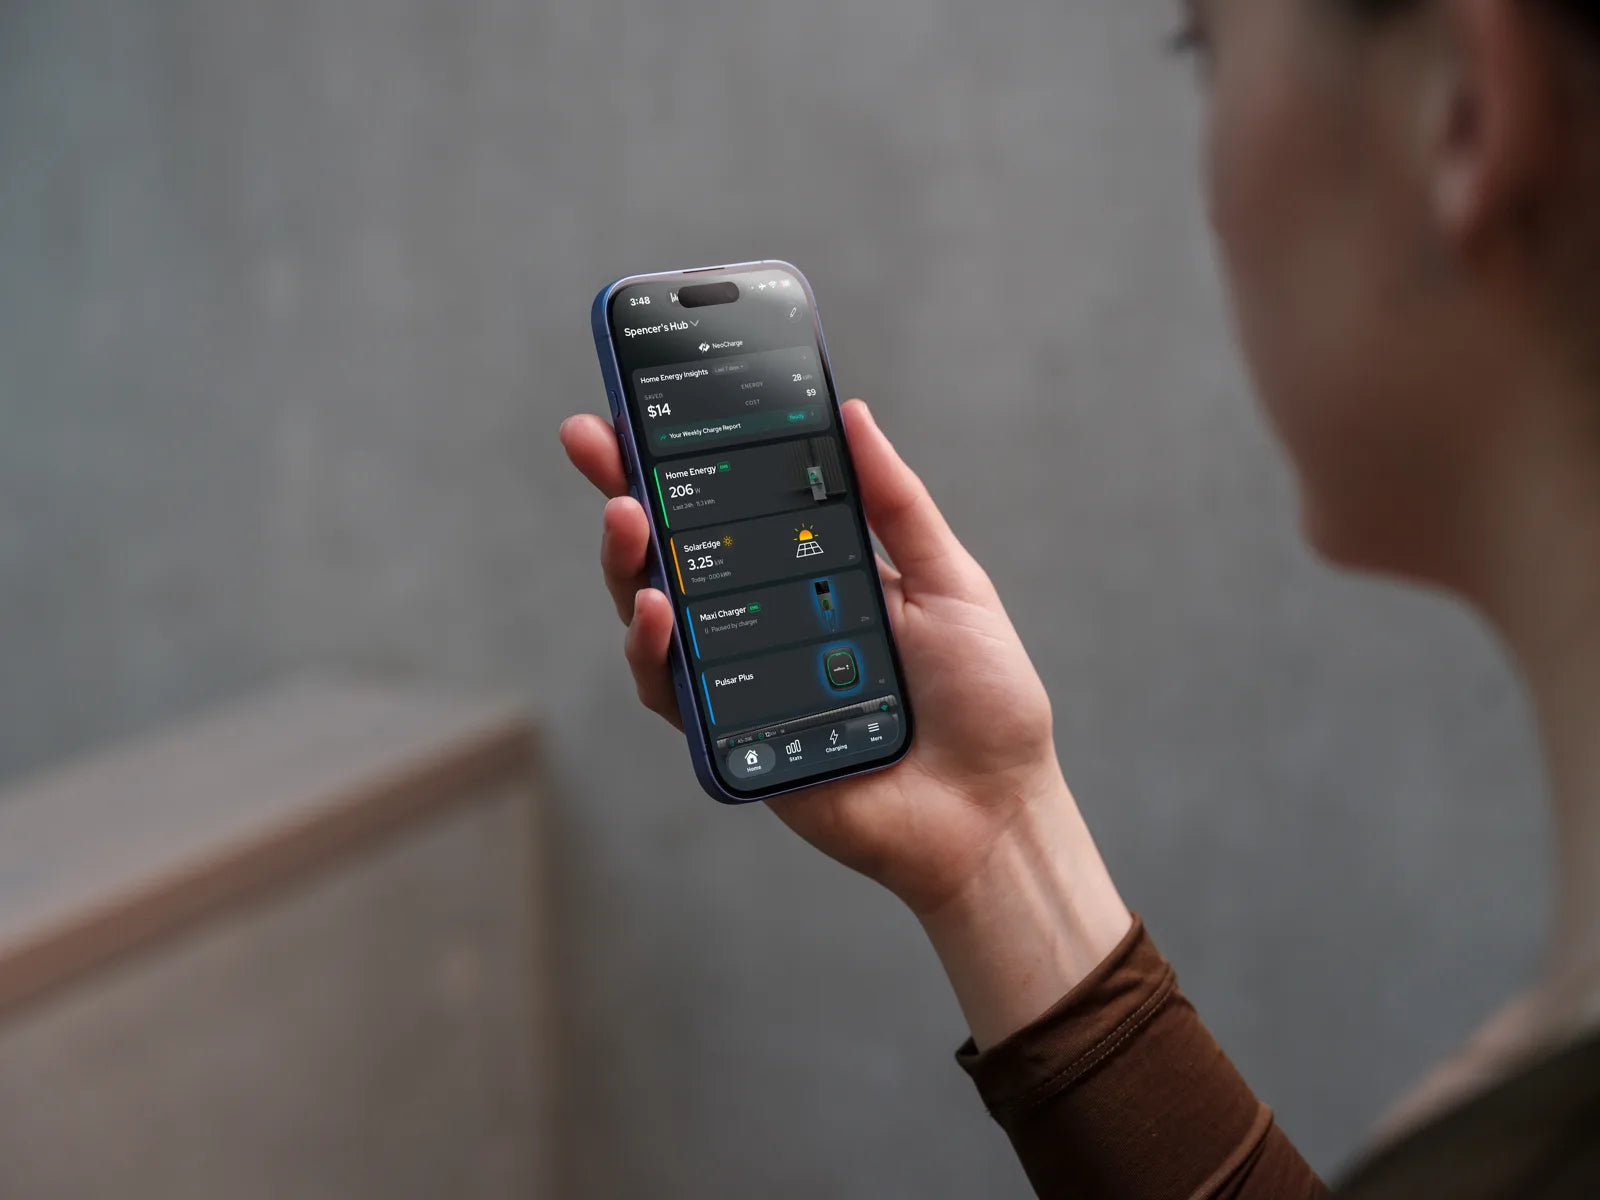
The NeoCharge app is built for this kind of routine: scheduling, rate-aware charging, cost tracking, and seeing what your home charging actually costs over time.
7. Use certified EV charging equipment
EV charging is a long-duration electrical load. That makes equipment quality matter more than it does for a lamp, phone charger, or toaster.
The EPA recommends choosing a laboratory-safety certified charger, such as an ENERGY STAR certified charger approved by a nationally recognized testing laboratory like UL or ETL.
Source: epa.gov
The U.S. Fire Administration gives similar safety guidance: buy a charging device certified by a nationally recognized testing laboratory, follow manufacturer guidelines, and never use a multiplug adapter or extension cord for Level 1 EV charging.
Source: usfa.fema.gov
Good home charging equipment should be:
- rated for EV charging
- matched to the circuit and breaker
- suitable for indoor or outdoor use as installed
- properly current-limited
- free of heat damage, looseness, cracks, or buzzing
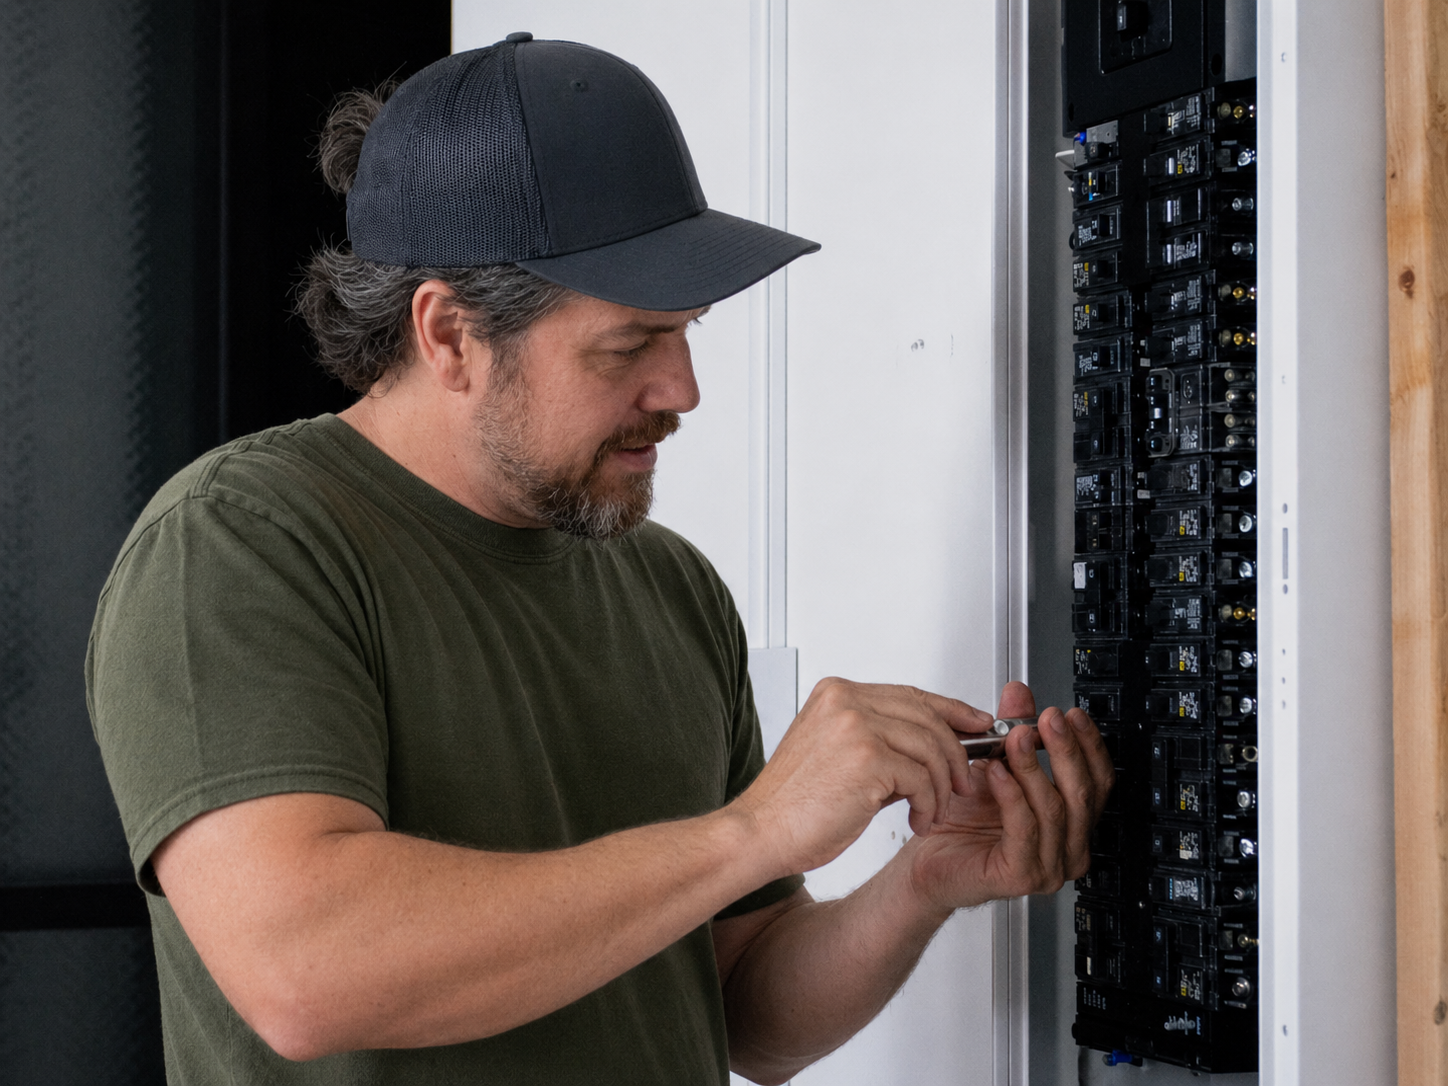
- installed or inspected by a qualified professional when electrical work is involved
The cheapest charging setup is not cheap if it damages your outlet, trips breakers, or creates a fire risk.
8. Do not use extension cords for EV charging
This one deserves its own section because it is one of the easiest mistakes to make. We also have a full guide on why extension cords are risky for EV charging if you want the safety details.
EV charging can run for hours. Extension cords add extra connection points, voltage drop, heat, and failure risk. If the charging cable does not reach, the answer is not a longer random cord. The answer is a better parking setup, a properly located outlet, or the right EVSE cable length.
Avoid:
- household extension cords
- cheap plug adapters
- loose outlet splitters
- daisy-chained power strips
- outdoor charging with indoor-rated equipment
- any outlet that gets warm, smells odd, buzzes, or shows discoloration
If an outlet looks questionable, stop using it and have it inspected.
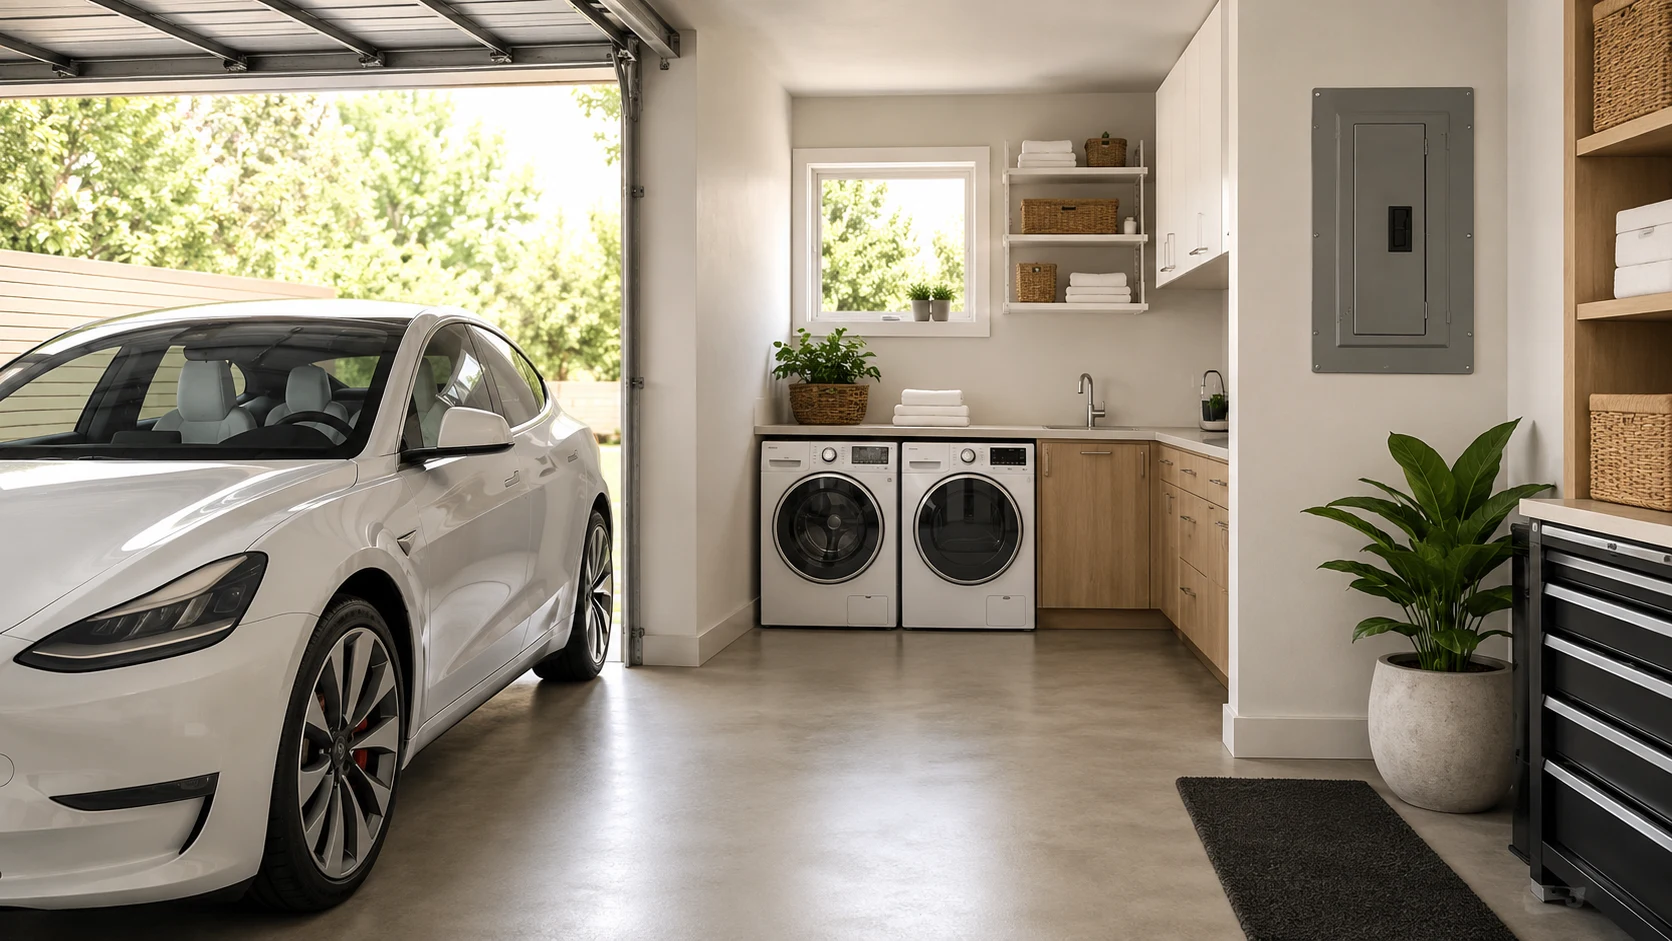
9. Right-size your charger before assuming you need a panel upgrade
Many EV owners are told they need a panel upgrade before they understand their actual charging needs.
Sometimes a panel upgrade is the right answer. But often, the better first question is: how much charging do you actually need overnight?
A 48A hardwired charger sounds great. But if your daily driving needs can be recovered with 24A or 32A Level 2 charging, a lower-power setup may be easier, cheaper, and more compatible with your existing electrical service.
The EPA also points to alternatives when a home has limited electrical capacity, including lower-powered chargers and load management or circuit-sharing systems that balance EV charging with other household appliances.
Source: epa.gov
Before committing to a panel upgrade, ask:
- How many miles do I drive on a normal weekday?
- How many hours is the car parked at home overnight?
- Do I already have a suitable 240V outlet, like a NEMA 14-30 dryer outlet?
- Can my EV or charger use a lower current setting?
- Would load management solve the issue?
- Do I need faster charging every night, or just occasionally?
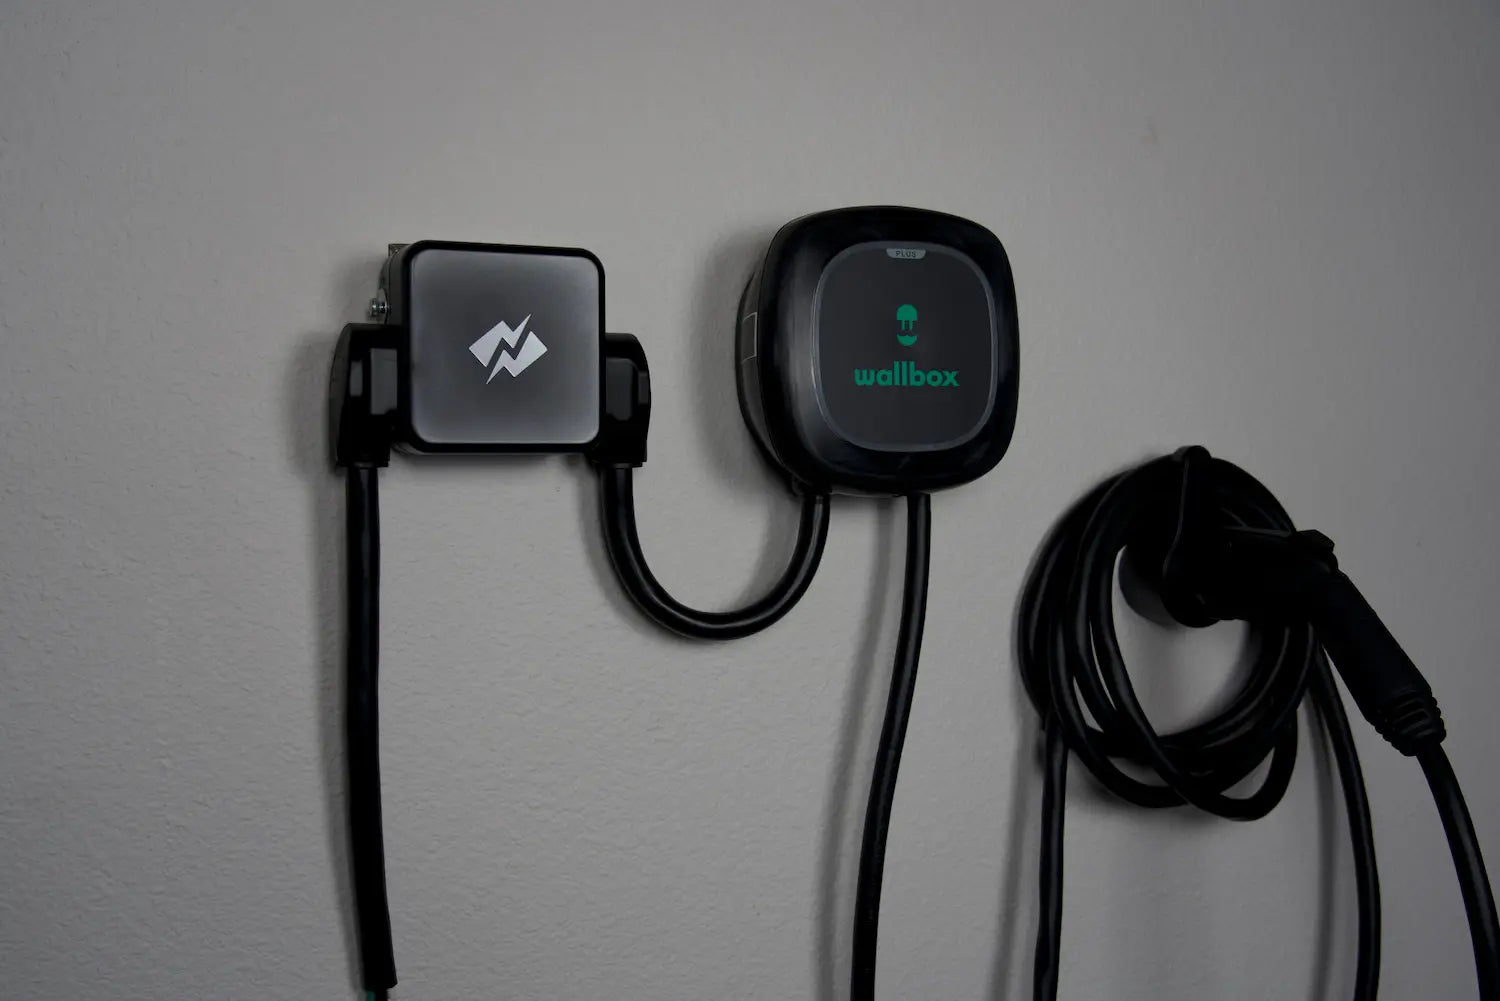
This is where the NeoCharge Smart Splitter can be useful. It lets many households safely share an existing 240V outlet between an EV charger and another appliance, such as a dryer, without asking the circuit to power both at the same time.
For a deeper guide, see how to add an EV charger without a panel upgrade.
10. Charge with the weather in mind
EVs can charge in hot and cold weather, but temperature affects efficiency and charging speed. Very cold batteries may charge more slowly. Very hot conditions can make the battery management system work harder to protect the pack.
Simple habits help:
- park in a garage or shade when practical
- leave the car plugged in before a very cold morning if your manual recommends it
- use scheduled departure or preconditioning features when available
- avoid letting the car sit at 100% in extreme heat longer than needed
- give the battery time to cool after hard driving before a long charging session when possible
You do not need to micromanage every degree. Just avoid stacking stressors when you have an easy alternative.
11. Build a weekly EV charging routine
The best routine is the one you do automatically.
For most home-charging EV owners, that routine looks like this:
| Habit | Best practice |
|---|---|
| Daily charging | Plug in when convenient; let the schedule control start time |
| Daily charge limit | Use your vehicle's recommended limit, often around 80% |
| Low battery | Avoid regularly dropping below 10-20% |
| Road trips | Charge to 100% shortly before departure when needed |
| Fast charging | Use for travel and urgent top-ups, not as the default |
| Home equipment | Use certified equipment matched to the circuit |
| Utility rates | Schedule charging during cheaper off-peak windows |
| Panel capacity | Consider lower-amp charging or load management before upgrading |
The result is a car that is ready every morning, a battery that avoids the worst extremes, and a charging bill that is easier to understand.
Common EV charging mistakes to avoid
These are the habits that create the most trouble:
- charging to 100% every day when you only need 50-80%
- waiting until the battery is almost empty before plugging in
- using DC fast charging as a daily routine when home charging is available
- ignoring your utility's off-peak rate plan
- installing more charging power than your driving actually needs
- using extension cords or bargain adapters
- sharing a dryer outlet manually instead of using load management
- assuming an empty breaker slot means the panel has enough capacity
- ignoring warm outlets, tripped breakers, or damaged plugs
EV charging is easiest when you design the routine around real life instead of worst-case anxiety.
FAQ
Should I charge my EV every day?
Should I charge my EV to 80% or 100%?
Is it bad to charge an EV overnight?
Is DC fast charging bad for an EV battery?
Can I plug my EV into a regular outlet?
Do I need a panel upgrade for Level 2 EV charging?
Bottom line
The best EV charging best practices are not complicated. Keep the battery away from extremes, charge at home when you can, use off-peak scheduling, choose certified equipment, and make sure your charging setup matches your home's electrical capacity.
If you want the simplest home charging setup, start with your real driving needs. If a dedicated Level 2 circuit is easy, great. If your panel is tight or your dryer outlet is the best 240V option available, a NeoCharge Smart Splitter may give you safe, practical Level 2 charging without jumping straight to a panel upgrade.
Next steps (NeoCharge)
- If you want to safely share a 240V outlet or avoid a costly panel upgrade, check out the NeoCharge Smart Splitter.
- If you want to schedule charging around cheaper utility rates and track charging cost, explore the NeoCharge App.
- If you are still deciding between Level 1 and Level 2, read Level 1 vs Level 2 EV charging.
- If you are comparing installation paths, read Smart Splitter vs EVEMS vs panel upgrade.
Sources
- U.S. Department of Energy Alternative Fuels Data Center home charging guide: DOE home charging overview
- U.S. EPA home EV charging guide: epa.gov
- U.S. Fire Administration EV charging safety handout: usfa.fema.gov
- Tesla Model 3 owner manual charging instructions: tesla.com
Electrical safety disclaimer
This article is for general informational purposes only and does not replace advice from a qualified professional. Electrical work can cause fire, injury, or death if done incorrectly. Always follow local codes, obtain permits where required, and consult a licensed electrician to evaluate your specific panel, wiring, receptacle, and EV charging equipment before making changes.
NeoCharge App
Turn rate plans into simple charging schedules
Schedule around off-peak windows, manage compatible chargers, and keep tabs on charging sessions from the app.
Explore the app


Next steps
Keep going with NeoCharge
Use the article as your decision guide, then jump into the product, app, or related guides that match what you are trying to solve next.
Key terms
- Level 2 charging
- Level 2 EV charging uses a 240V circuit (like a dryer outlet). It typically adds ~20–35 miles of range per hour, depending on your car and the circuit amperage.
- NEMA 14-30
- A NEMA 14-30 is a 240V, 30A dryer outlet. With a properly configured EV charger, it can usually support ~24A continuous charging (about 20–25 miles of range per hour for many EVs).
- EVSE
- EVSE stands for Electric Vehicle Supply Equipment (the “charger”). It safely delivers power to your EV and communicates with the car to control charging current.
- Time-of-use (TOU) rates
- Time-of-use rates are utility pricing plans where electricity costs more at peak hours and less off-peak. Scheduling EV charging off-peak can significantly reduce cost.
- Load management
- Load management is a strategy to keep your home’s electrical load within safe limits—often by scheduling or pausing EV charging when other appliances are running.
Related posts

BC Hydro EV Power Management Device Rebate: Eligible Devices (2026)
BC Hydro pays $200 extra for an eligible EV power management device. The Sept 2026 device list, which chargers qualify, and the permit rule that decides who gets it.


Can I Charge My EV From a Dryer Outlet in Canada?
Can you charge an EV from a dryer outlet in Canada? Learn NEMA 14-30, NEMA 10-30, 24 amp charging, Tesla adapters, safety, and Smart Splitter options.

Do You Need a Panel Upgrade for Home EV Charging in Canada?
Can you install an EV charger without a panel upgrade in Canada? Compare 100 amp panels, Level 2 charging, dryer outlets, load management, and rebates.
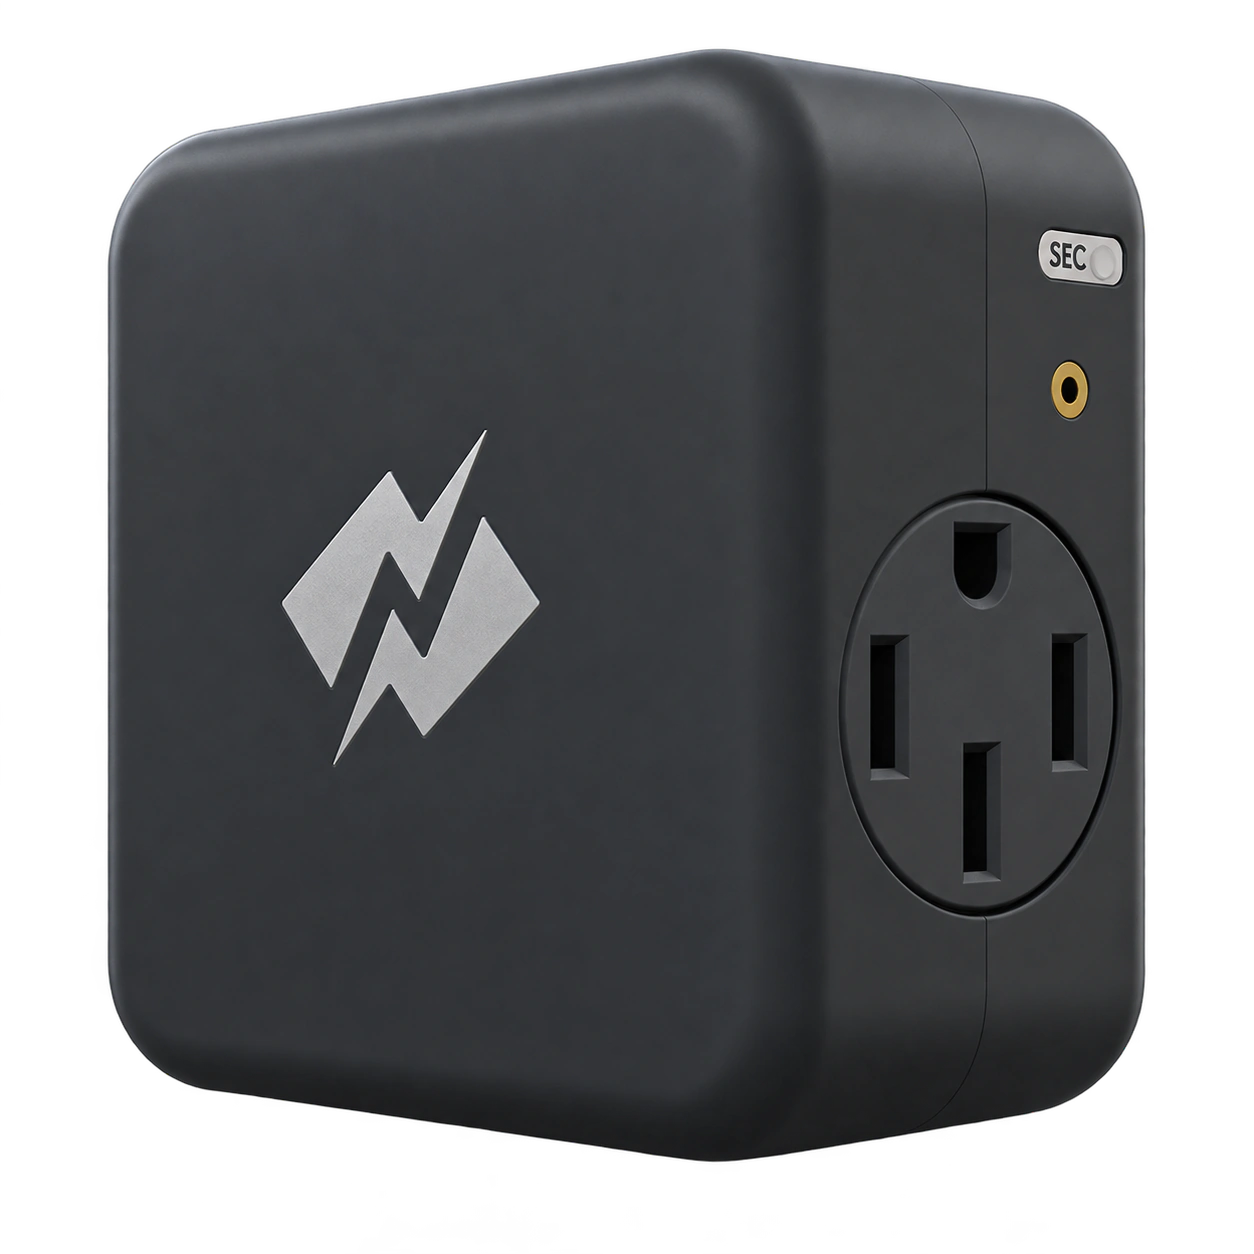
DCC-9 vs DCC-10 vs EVEMS vs Smart Splitter: Canada EV Load Management Guide
Compare DCC-9, DCC-10, EVEMS, dynamic charger load management, NeoCharge Smart Splitter, and panel upgrades for Canadian EV charging on 100A or 125A panels.
